Showing posts with label container. Show all posts

Monday, May 21, 2012

Putting Together Annual Containers

This past weekend was containerpalooza in my garden!  I look forward to the spring day when the weather is warm and the danger of frost is gone, because it's when I can start putting my containers together.  While I didn't finish all my containers, I am hoping to finish up the last of them this week after work.  Here are the elements I try to put into my containers:
1. At least one plant for height (this doesn't always work with smaller containers)
2. Contrasting colors....mix dark colors with light colors, etc.
3. Mixtures of heights and/or textures

Here is the empty planter

I add my plant for height, in this case it's Black and Blue Salvia

Then I start placing plants around and rearranging until I like the colors.

Once I have the plants in place then I add soil and plant them.


Some other containers from this weekend:


Tuesday, April 17, 2012

Hosta of the Day - 'Lemon Lime'

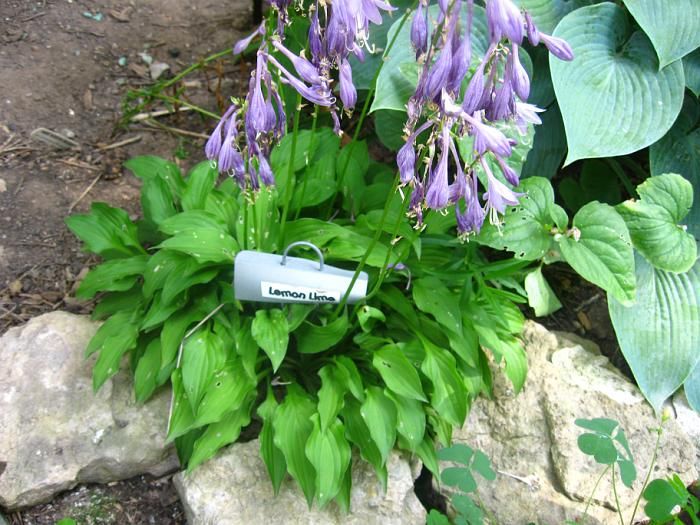
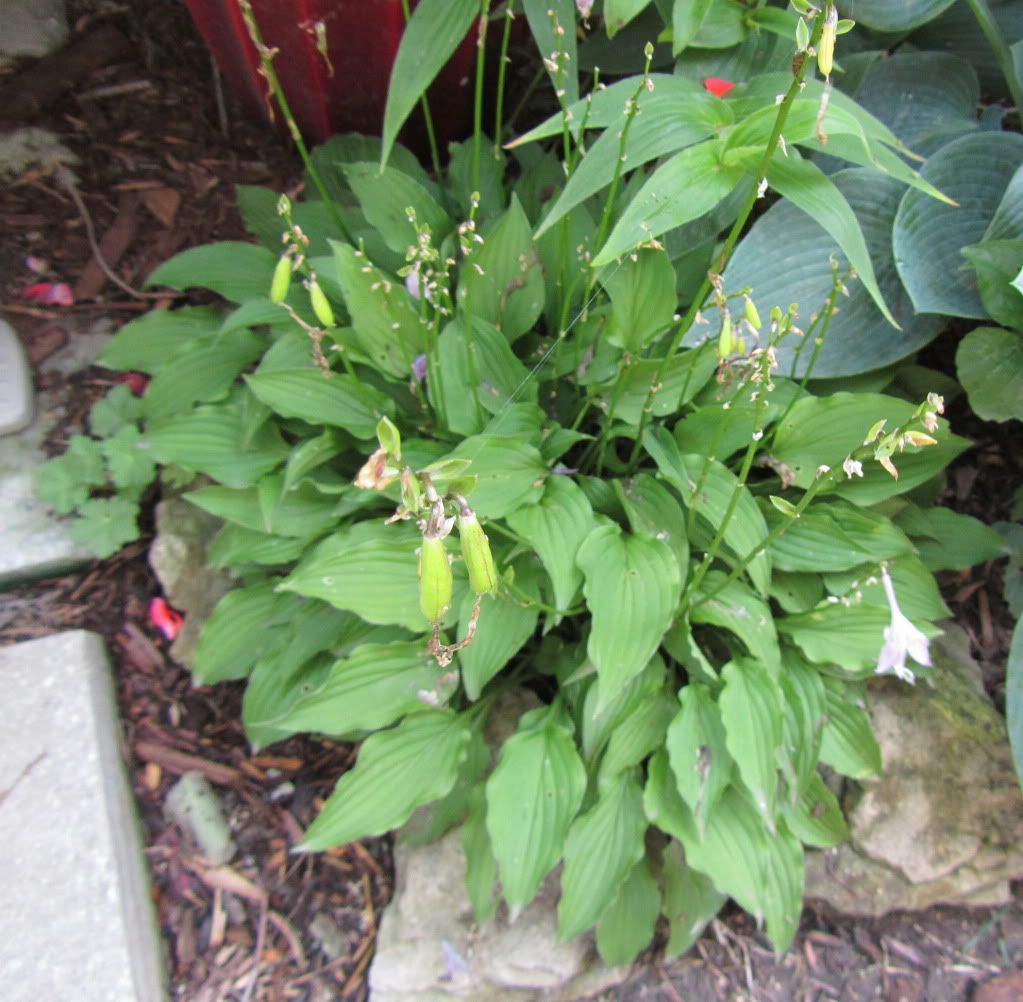
This cute little hosta is a very vigorous in my garden.  I swear every year I divide this one in half, and by fall it's back to it's spring size.  That's unusual for a miniature hosta, since they are usually not the most hardy of the hosta family.  Another unusual feature of this hosta, is that it tends to bloom more then once a year!  It has wavy, lance shaped chartreuse leaves that hold their color all season.  It's a great hosta for the front of the border, especially a shady border that you want to brighten up!  It would also work great in a container or miniature garden.

Hosta 'Lemon Lime' 2009
Hosta 'Lemon Lime' 2011


Thursday, March 15, 2012

Hosta of the Day - 'Hope'

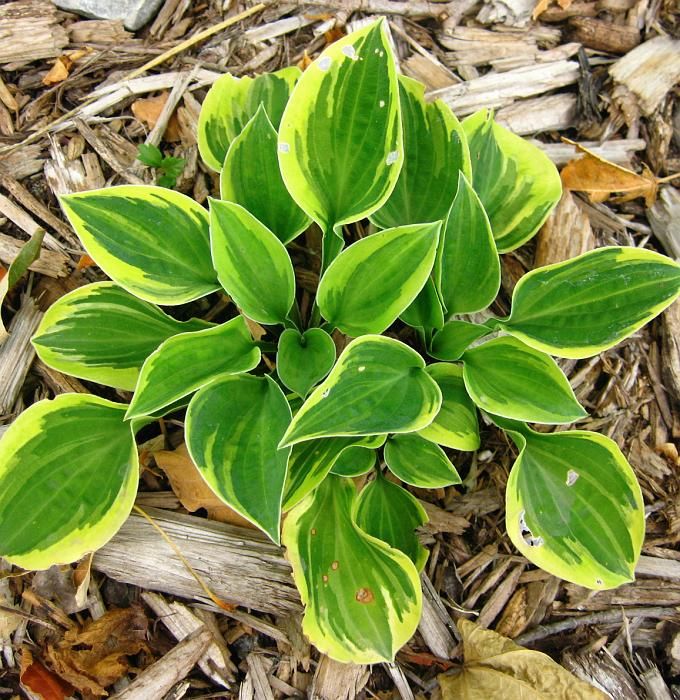
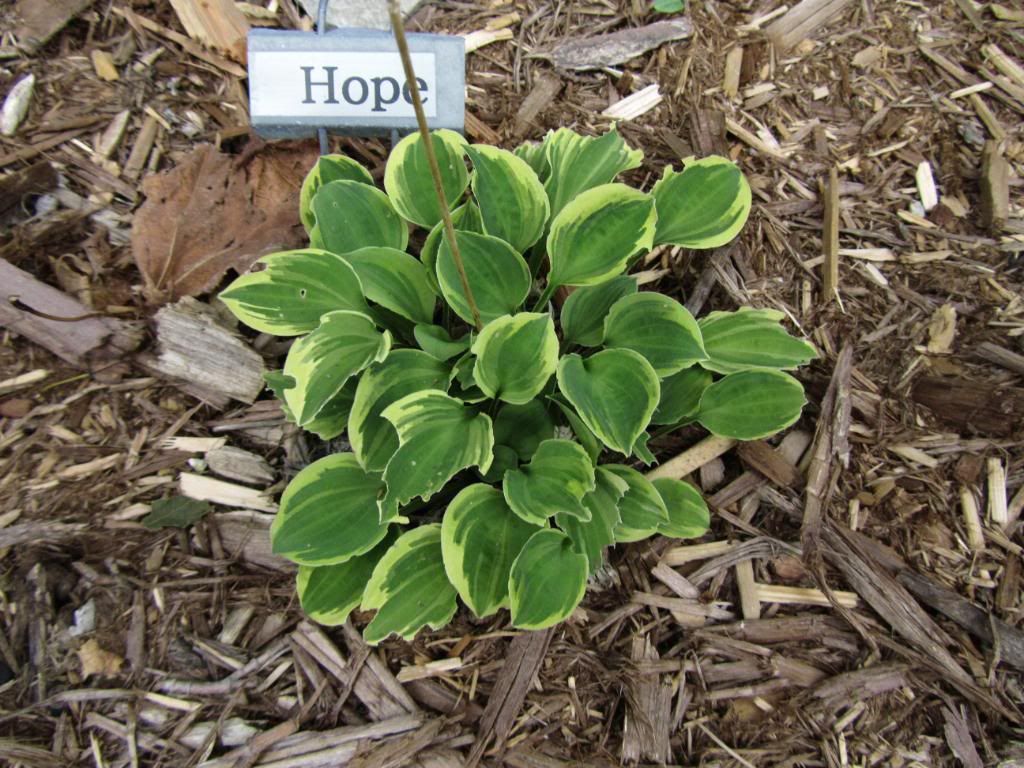
Today's hosta is another miniature hosta.  Hosta 'Hope' has green leaves with a gold margin.  'Hope' can grow to be about 8" wide, and has very cute round leaves and forms a very nice mound.  It's a little hosta that packs a lot of color.  Because of it's size, it's best to put this little guy in the front border so it can be easily seen.  It would also be great in a miniature garden.
Hosta 'Hope' 2009
Hosta 'Hope' 2011


Wednesday, March 7, 2012

Hosta of the Day - 'Ginsu Knife'

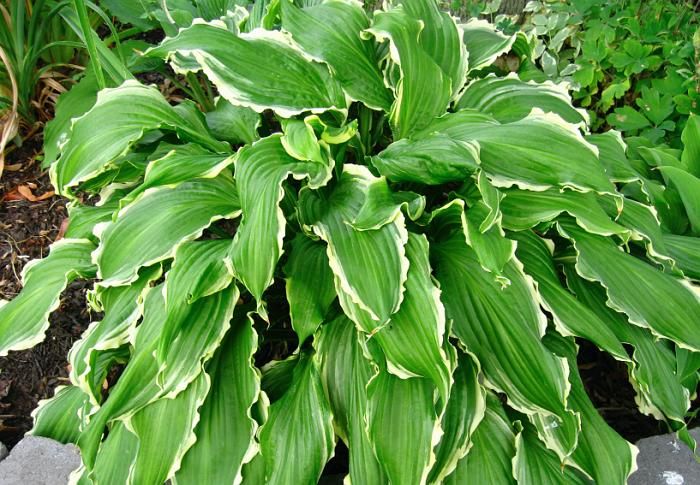
I promised I would still present you with at least one hosta this week.  Today's hosta has great twisting leaves.  Hosta 'Ginsu Knife' has a mounding habit with twisting leaves of green with white borders.  Some say it has fragrant flowers, but for some reason the flowers on mine seem to have no smell to them whatsoever.  I thought that mine was not showing off it's true beauty being planted in the ground.  It just seemed to lay on top of itself too much.  So this past summer I decided to find a container to plant it in.  I wanted something so that the leaves could cascade over the sides.  In fall I move the container to the north side of my house where it will receive the least amount on sun.  I then lay the container on it's side and face the opening towards my house, so that the least amount of moisture can get into the container.  This helps protect it from the freezing and thawing that often happens over a Midwest winter.  Then in spring I move the container back out into the sun and enjoy it all summer long.
Hosta 'Ginsu Knife' 2009
Hosta 'Ginsu Knife' 2011

Hosta 'Ginsu Knife' right after being replanted into a container

Thursday, November 17, 2011

Storing Hosta in Containers for Winter

Did you know that you can grow hostas in containers in Wisconsin?  Well you can.  I have successfully grown hostas in containers for many years.  The key to keeping hostas in containers is how you store them over the winter.  The most important thing is keeping moisture out of the pots.  You want to prevent freezing, thawing, and frozen, wet roots which will result in the roots turning to mush ultimately killing the hosta.  Here are my steps I follow:
  1. I wait until a hard frost has killed off all of the hosta foliage.
  2. Then I move the containers to the north side/ or a protected area outside where they will not receive a lot of light or precipitation.
  3. I then push the containers together as an extra way to prevent moisture from finding it's way inside the container.
  4. If you feel they still need further protection, you can cover the containers with leaves or straw.
  5. Then it's time to wait until spring to move them.  I usually wait to move them until I start to see some sign of life.  

These are on the north side of the house, where the least amount of moisture and sunlight will get to them.  I push them together to help prevent moisture from getting in and freezing.  You can also cover these pots with leaves or straw for additional protection.

This one is not quite ready for storage.  I like to have all of the leaves die off before storing them for the winter.