
Hostas and Gardening in Wisconsin
Thursday, June 30, 2011
Wednesday, June 29, 2011
Installing a dripline/sprinkler system
Yesterday I decided it was about time to install the dripline/sprinkler system that I purchased earlier this spring. I figured it would take me a few days to install, but it was so easy to install I had it installed in one afternoon. I am not mechanically inclined, so if I can do this I'm guessing just about anyone can.
Here are the things I needed for my job:
To Connect to the water faucet (this is first step):


10. Use the Figure 8 End to the end of any mainline tubing. Slide on Figure 8 end about 8 inches, fold tubing in half, and insert other end into Figure 8 End (see below).

Here are the things I needed for my job:
To Connect to the water faucet (this is first step):
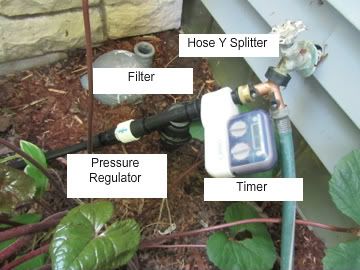
- 1 Hose Y splitter for my my faucet, so I could have the dripline and still have a hose reel on the same faucet. (optional)
- 1 Timer (optional) so I can set my dripline sprinkler to automatically water at certain times (daily, weekly, every 2 days, etc).
- 1 Filter (so dirt and other items do not get into the the mainline
- 1 Pressure Regulator (I have bad water pressure on my outside water lines)
- 1 female hose beginning (one connect to regular hose end, other connects to dripline tubing)
- 100 ft of mainline 1/2" tubing
- Figure 8 ends
- Easy Loc T's to split the hose (optional)
- Wire Hold downs to keep hose in place
- Pocket Punch to punch holes in mainline tubing
- Sprinklers
- Something to cut tubing (I used a knife)
- Shovel (optional - I buried my hose in certain areas).
Steps:
 |
| Buried tubing running out to hosta garden |
- Place mainline tubing in sun for a few minutes, this make it easier to unroll.
- Hook up hose y splitter, timer (optional), filter, female hose beginning, and pressure regulator onto faucet.
- Unroll mainline tubing
- Connect mainline tubing to the female hose beginning.
- This is where I buried my tubing underground until it reached the garden, but this is also an optional step.
- Run hosing to where you need it and stake down using wire holds.
- If you need to run in various directions you will need to split the hose using some easy loc T's like pictured below.

8. Decide where you would like to place your sprinklers.
9. Then use the pocket punch to place a hole in the mainline tubing (see below) and insert the sprinklers plugs into the mainline tubing. (repeat until all sprinklers are installed)

 |
| Sprinkler inserted into mainline tubing |


It's really that easy! I found the mainline tubing at my local hardware store, but most of the other parts I purchased from Dripworks. I highly recommend Dripworks, as they have kits that include everything you need and they are inexpensive. They also have great video tutorials on their page.
Monday, June 27, 2011
2011 Midwest Hosta Convention
Just a reminder that the 2011 Midwest Hosta Convention is just around the corner. The Wisconsin Hosta Society will be the host club this year, and the convention will take place in Madison, WI on July 7, 8, and 9th.
If you love hostas, this is a great opportunity to meet others who have the same passion. I love conventions because I can tour other hosta gardens and get ideas. It also gives me a chance to see mature hostas, and see hostas that are new to me. So if you go, make sure to bring something to write with, as you will be writing down lots of hosta names. I try to make sure nameplates of the hostas are somewhere in all of the pictures. I also love conventions, because vendors bring their best stock and some plants you might not find anywhere else.
I contacted the Wisconsin Hosta Society about the pricing for the convention. They said that decided to keep the price of the convention at $144, so there is no penalty for registering late. They have also added Saturday only registration for $75. The $75 includes: a light breakfast at the hotel, a bus ride to the five featured garden tours plus a box lunch, the convention auction and the banquet dinner. So that's a great deal! Just make sure to write on top of your registration form Saturday Only, if you decide to take advantage of the deal.
The vendor area will be open to the public Friday and Saturday, as well as the leaf show on Friday. So if you are just dipping your toes in the pool of hosta, that might be a great way to ease yourself into the hosta madness.
More Information and Registration Forms can be found on the Wisconsin Hosta Society Page.
Tuesday, June 21, 2011
Most asked about trees/shrubs in my yard Part 3
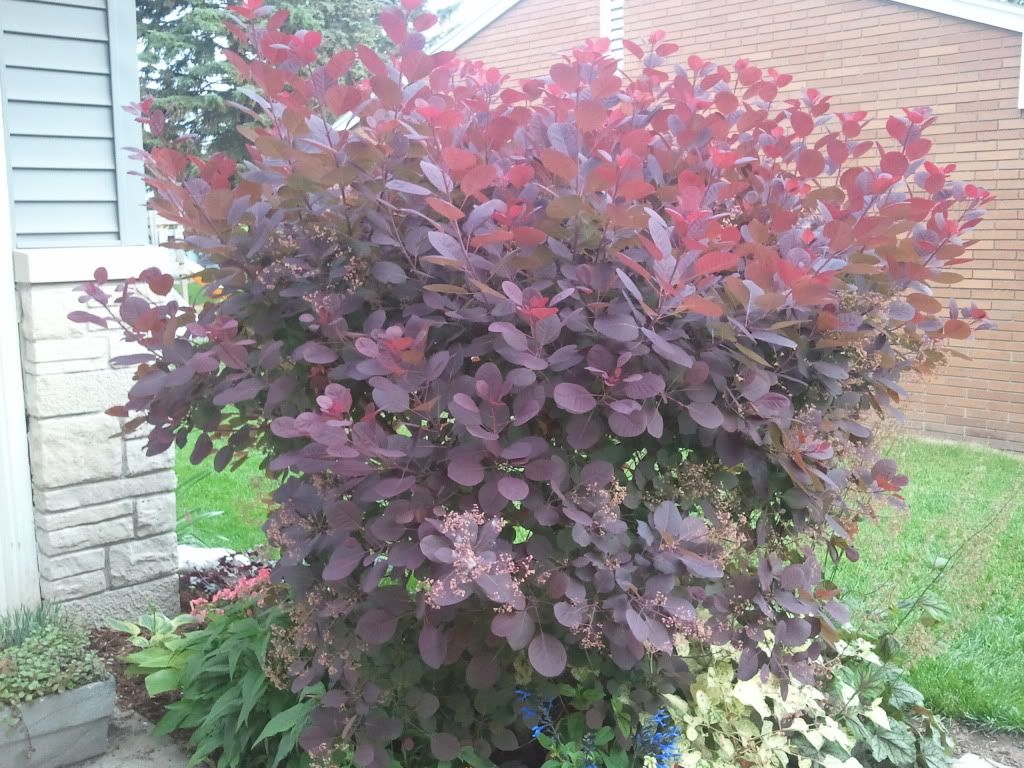 |
| Smoke Bush (my dad kept referring to it as a Burning Bush and confused people:) ) |
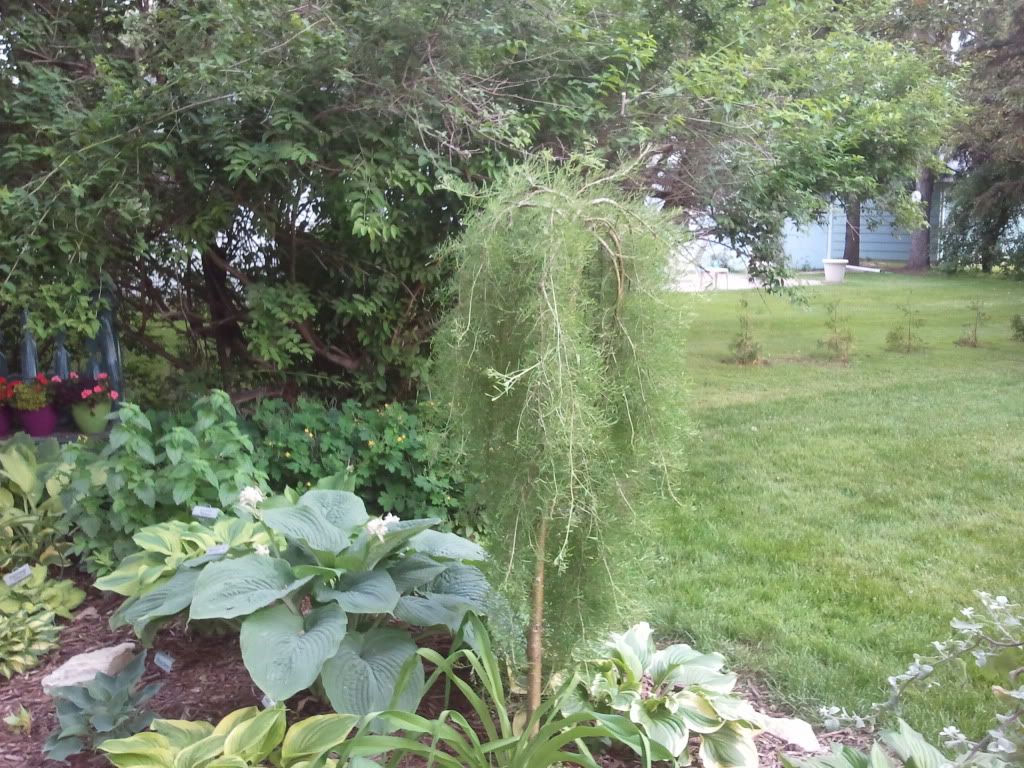 |
| Weeping Siberian Pea Shrub |
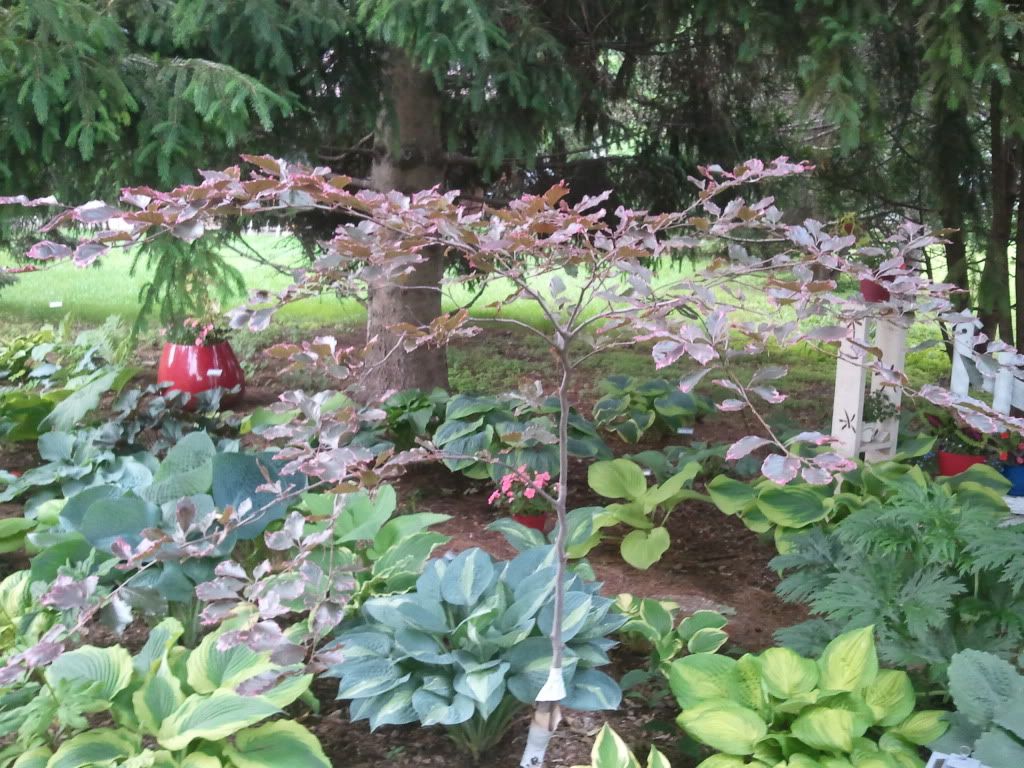 |
| Tri-colored Beech |

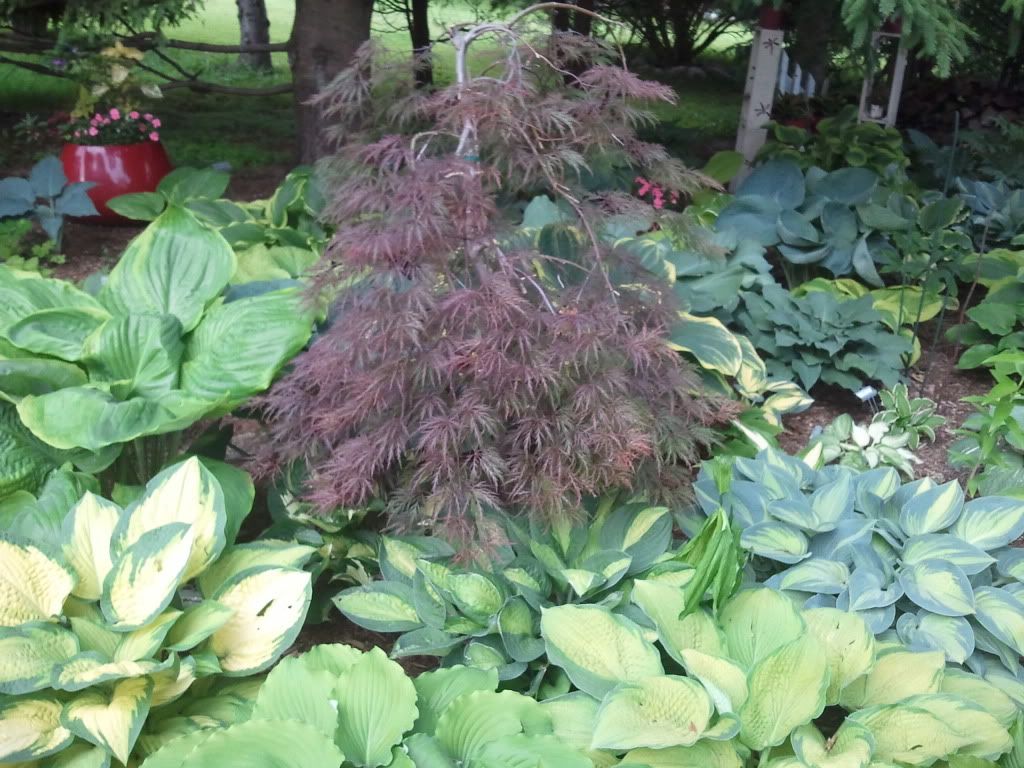 |
| Japanese Maple |
Monday, June 20, 2011
Most asked about plants part 2
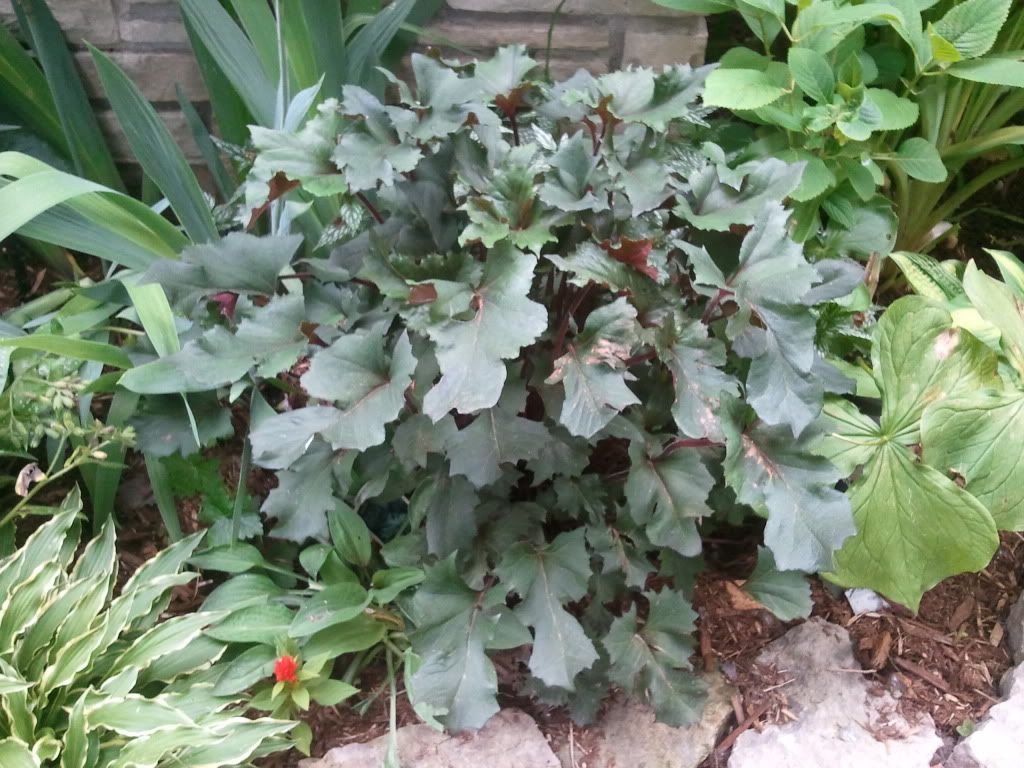
One of the most frequently asked about plants in my garden was Persicaria (or follopia), sometimes also known as Painter's Palette. I have a few different varieties in my yard. Some people from the Southern states might see it, and think, "Oh My, you put that weed in your garden!" But here in Wisconsin it is very well behaved. Tomorrow I will post the most frequently asked about trees and shrubs in my yard.


 |
| Hosta 'Big Daddy' |
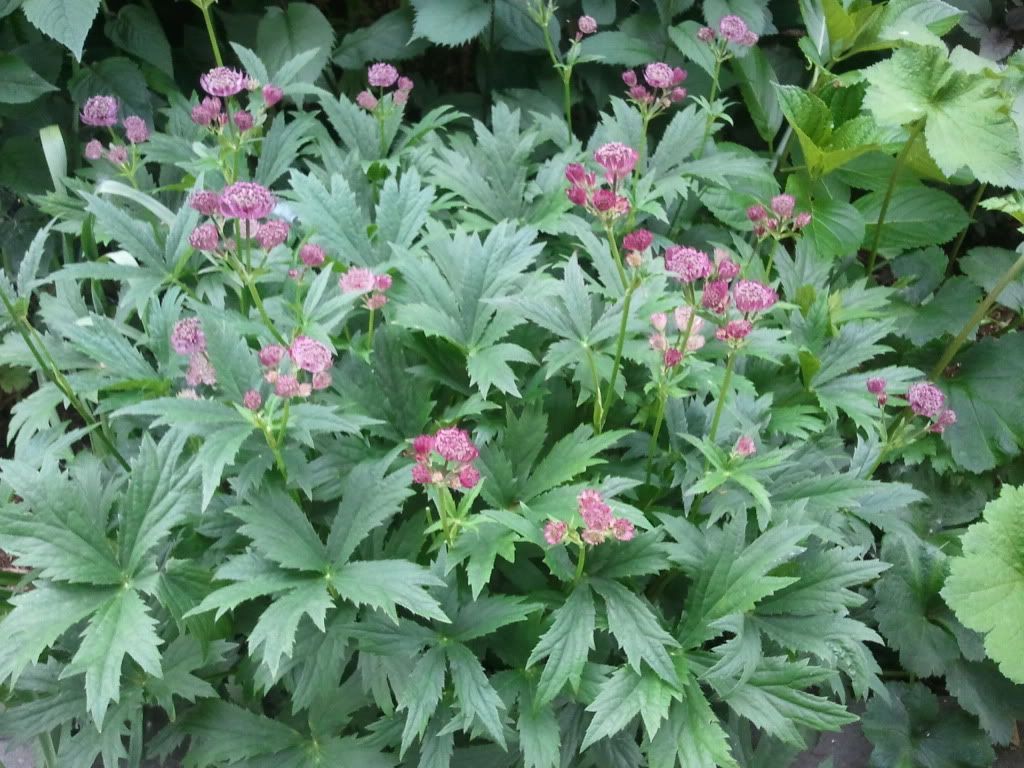 |
| Masterwort (this one is Ruby Cloud) |
Sunday, June 19, 2011
Most asked about plants/trees in my garden Part 1
After having the garden walk yesterday, I decided to post my most frequently asked about plants. I'm hoping it will be helpful to anyone to stopped by and didn't have a chance to write something down or asked me about them. I will do another post tomorrow with more plants.
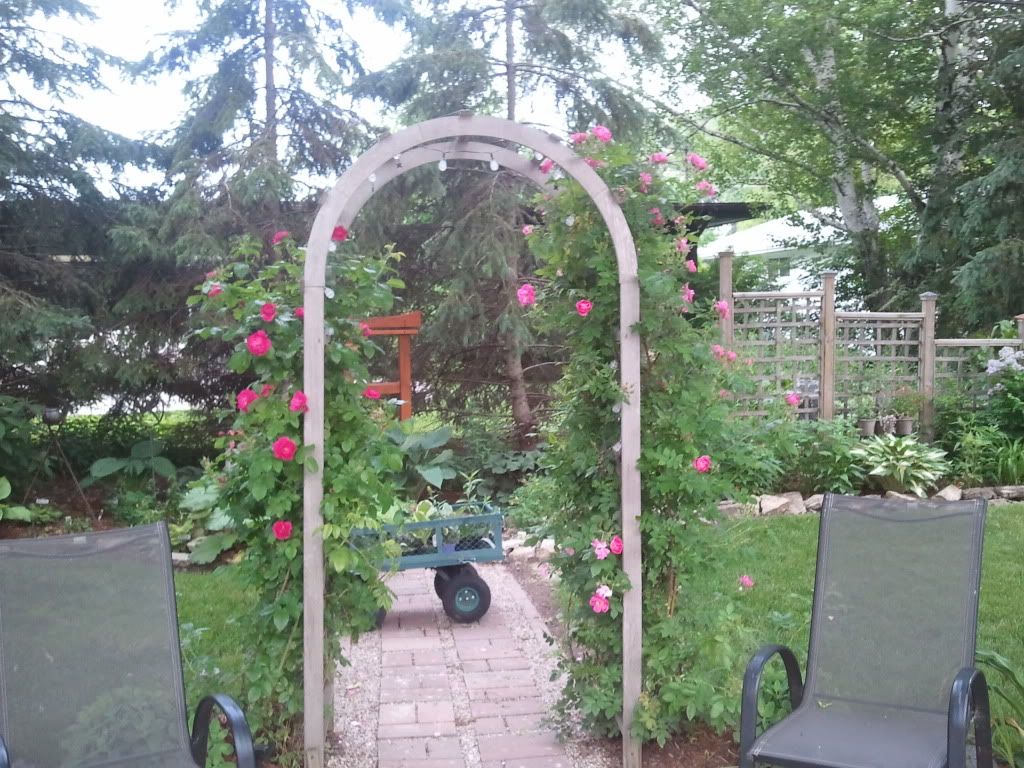 |
| My climbing roses which are John Cabot and William Baffin, and do just fine in part sun. |
 |
| Ligularia japonica |
 |
| Rudbeckia Herbstonne |
 |
| Ligularia Osiris Fantaisie |
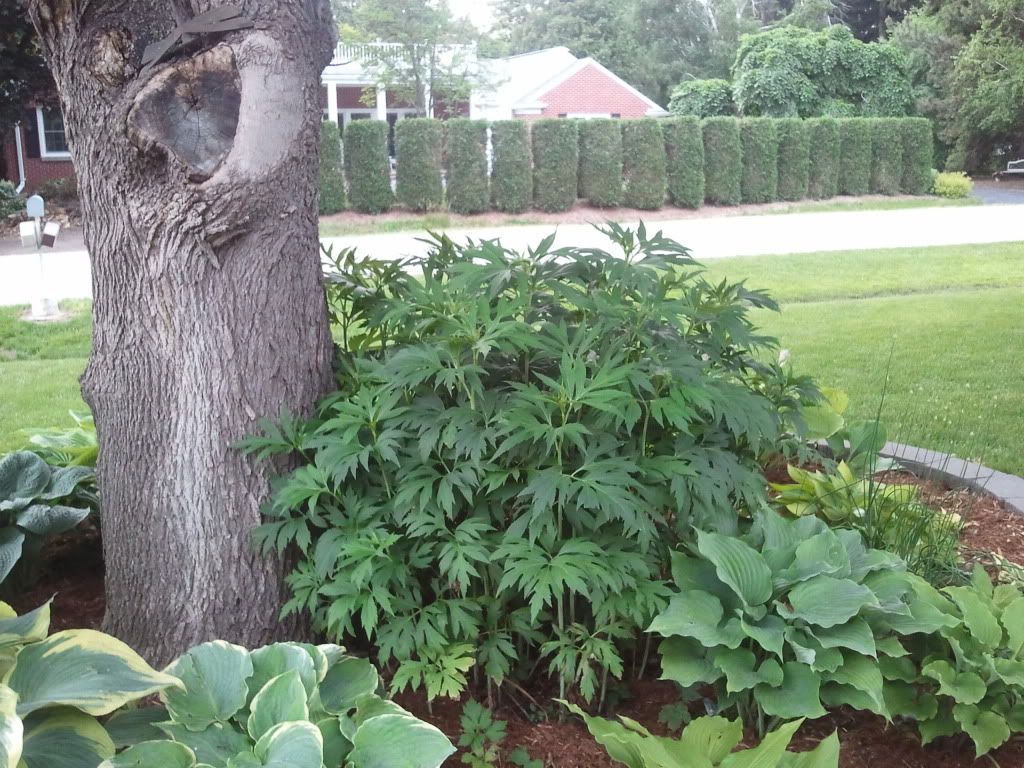
 |
| Astilboides tabularis |
Friday, June 17, 2011
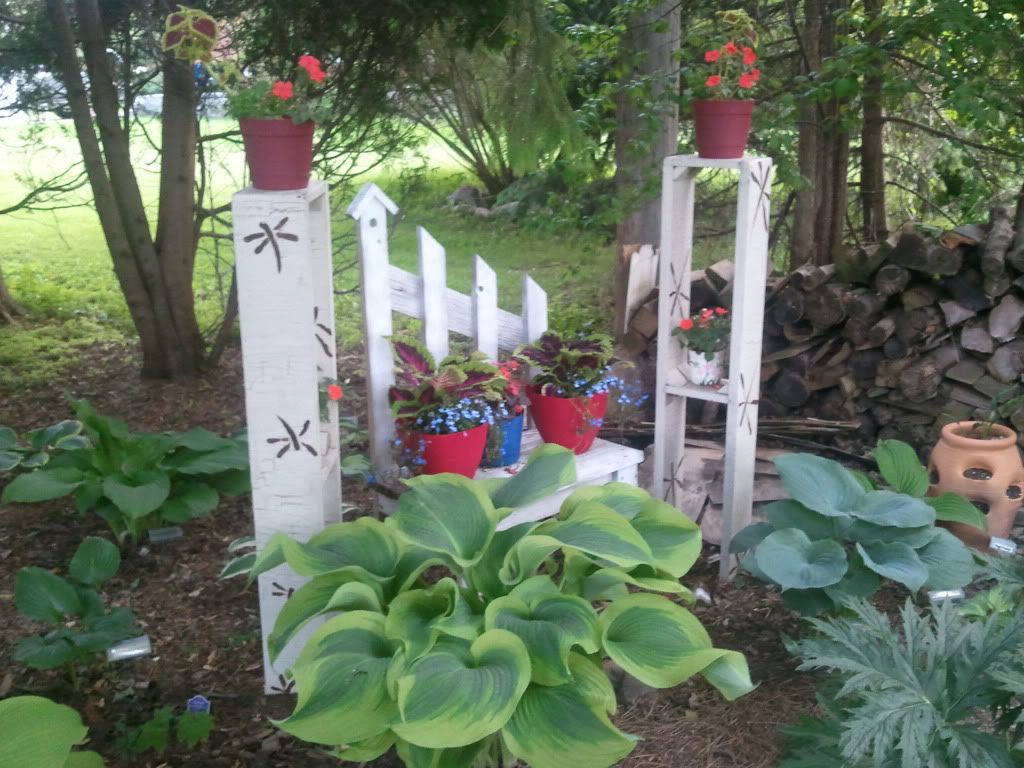
Preview to tomorrow's garden walk
Here are some small things you might not notice if you go on tomorrow's garden walk. I am hoping that the weather holds out, as I have heard about 5 different weather forecasts. Almost all of the forecasts involve rain at one point during the day. Hope to see some of you tomorrow!
Jen


Jen
Wednesday, June 15, 2011
Meeting Erin Davisson and being on local news
The Cheesehead Garden was featured on local news station WFRV channel 5 tonight, as part of a segment about the upcoming Garden Discoveries garden walk. I was very excited to meet news anchor, Erin Davisson, as we both love technology and gardening. It's not a common combination! We have been in touch with each other over technology and have a lot of friends in common, but we had never met in person. It was such a great experience, as Erin is as winderful in person as she is on TV.
Erin and Eric (the camera man) visited both my garden and my friend Gina's garden (whom will also be on the garden walk). Here are some pictures:
The segment that aired tonight was about the garden walk, and at a later date a segment will air about being a garden blogger. I can not thank her enough for coming out, meeting me, and letting me share my garden with an even bigger audience. I somehow see a plant shopping roadtrip in our future.....
Here is the video from tonight's news:
http://www.wfrv.com/news/greenscene/Garden-Discoveries-Tour-6152011-123940919.html
Erin and Eric (the camera man) visited both my garden and my friend Gina's garden (whom will also be on the garden walk). Here are some pictures:
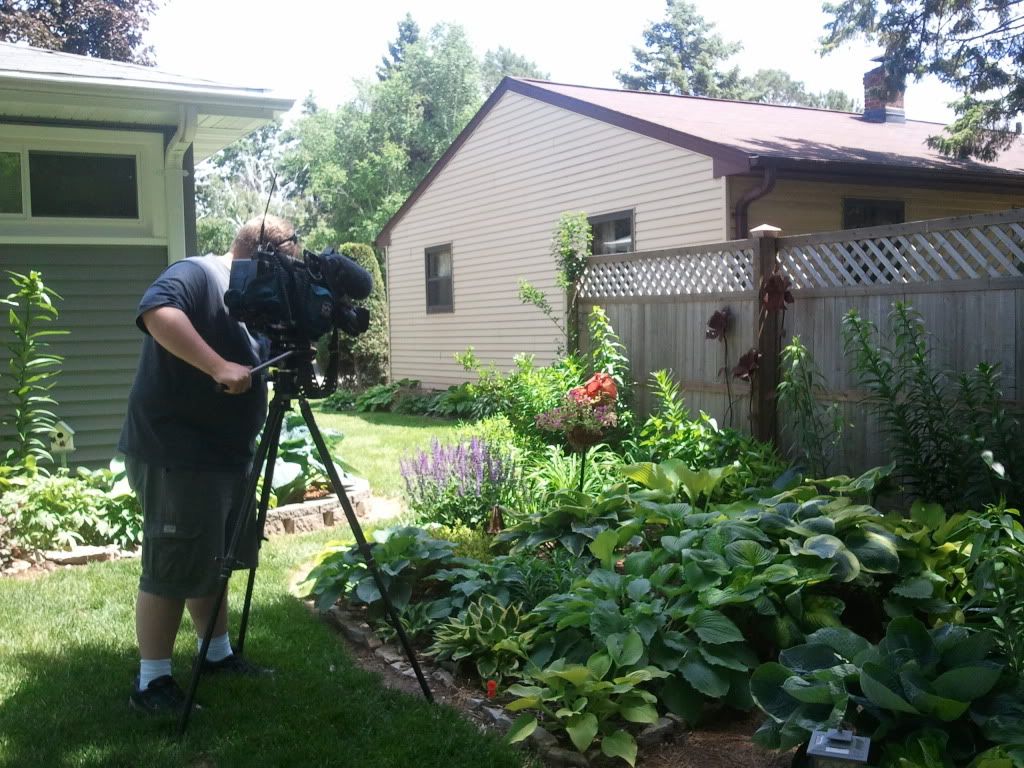 |
| Eric doing some garden shots |
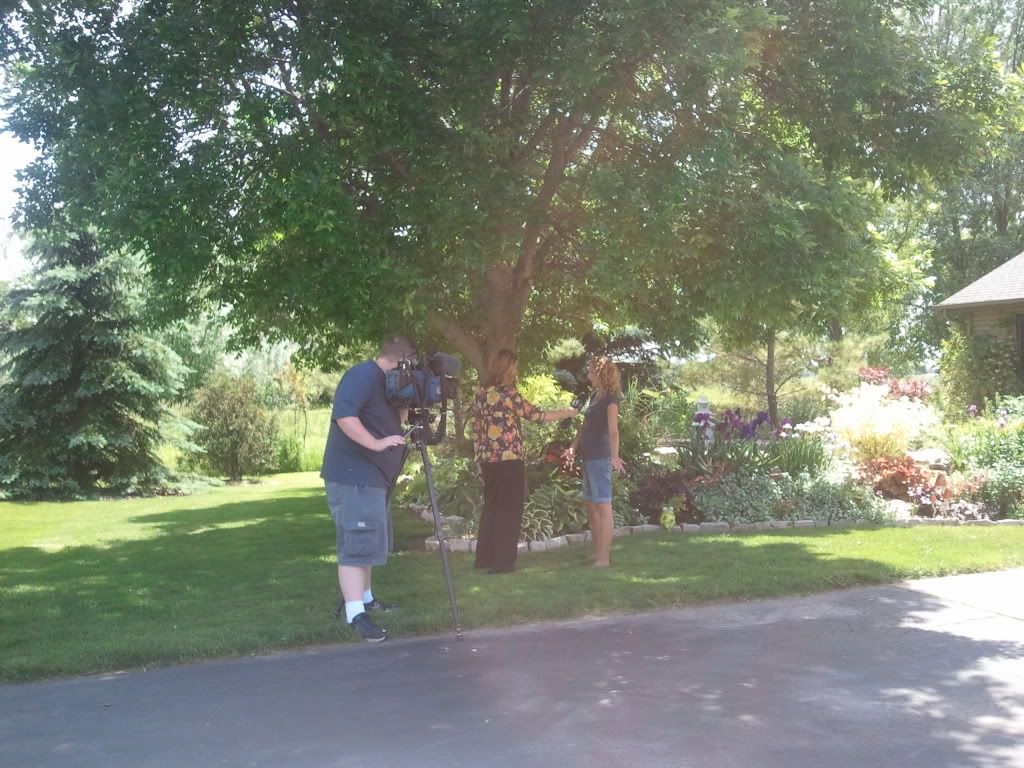 |
| Eric videoing an interview between Erin and Gina |
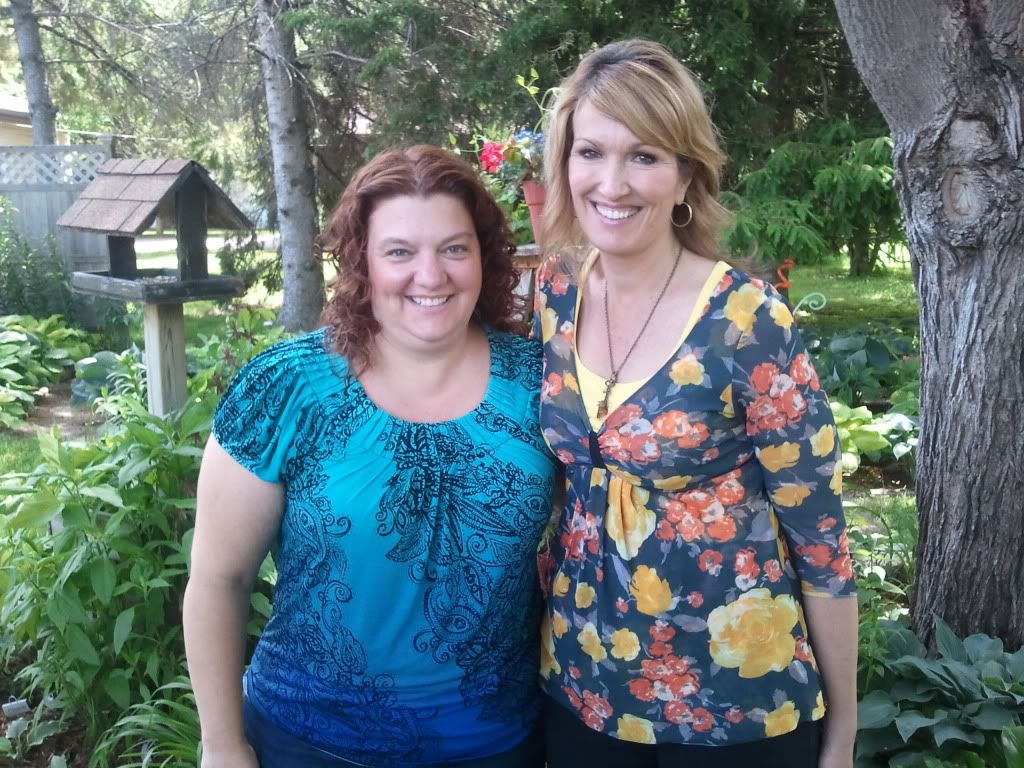 |
| Myself and Erin Davisson |
Here is the video from tonight's news:
http://www.wfrv.com/news/greenscene/Garden-Discoveries-Tour-6152011-123940919.html
Sunday, June 12, 2011
Garden Walk
Well the yard is finally starting to shape up. I can't believe that the garden walk is this coming Saturday. For those of you who don't know, my yard will be one of the eight gardens featured on the Garden Discoveries garden walk presented by the Outagamie County Master Gardeners.
The walk is Saturday, June 18th from 10am-4pm. The cost is $5 (anyone over 12) and 2 can goods. Proceeds will go to St Joseph's food pantry, and the Outagamie County Master Gardeners for education programs. You can start at any of the eight gardens.
Here are complete details: http://www.ocmga.net/pdf/2011%20Garden%20Discoveries.pdf
Wednesday, June 8, 2011


Friday, June 3, 2011
Seed GROW 2011
Last year as part of the Seed GROW project sponsored by Renee's Garden, garden bloggers from around the United States including myself grew Nasturtium 'Spitfire'. I am very excited to be chosen once again to be part of the Seed GROW project.
This year Renee's Garden has provided everyone in the Seed GROW project with the following free seeds:


This year Renee's Garden has provided everyone in the Seed GROW project with the following free seeds:
Lettuce, Container, "Garden Babies"
Exclusive - These babies have softly folded leaves, a lovely buttery texture and outstanding sweet taste. Ideal for containers, Garden Babies are slow bolting, heat tolerant, and make compact 6 heads at maturity.
Basil, Container, "Italian Cameo"
Exclusive - From our best Italian breeder. Easy growing and deliciously fragrant, Cameo has closely packed, luscious big leaves and a compact 6- 8 inch habit. Perfect for containers, window boxes or edging garden beds.
Marigold, "Summer Splash"
Exclusive - This flower powerhouse offers crisp blue-green foliage literally covered with sunny yellow, cheerful blossoms. These plants bloom nonstop and are more heat, rain tolerant than any marigold we've seen.
Here in Wisconsin we have had a very cold spring. The soil wasn't even warm enough to consider planting seeds until this week. I had planted the lettuce a few weeks ago, but some hungry bunnies ate the sprouts so this is all that is left.

The Marigold "Summer Splash" seeds actually germinated really fast. I planted them on Monday and some of the seeds have already germinated.

I am trying my Basil "Italian Cameo" in this planter. I hope it works out!

I'm growing with the SeedGROW project. Thanks to Renees Garden for the seeds.
Subscribe to:
Posts (Atom)